Following the fall of Singapore in February 1942, Japanese forces advanced rapidly into the Netherlands East Indies (NEI), marking a decisive turning point in the Pacific War and signalling the beginning of the end of British imperial dominance in Southeast Asia. Japanese planners were well aware that the Allies would use Australia as their principal base for regrouping, launching counter-offensives, and sustaining future operations. The air raids on Darwin, Broome, Exmouth and Townsville were intended to disrupt these preparations rather than to signal an imminent invasion of Australia.
It was within this broader strategic context that the Japanese attack on Sydney Harbour occurred.
Japanese attack on Sydney Harbour
On 28 May 1942, the Japanese submarine I-21 launched a reconnaissance floatplane that flew over Sydney Harbour, identifying thirteen Allied warships, including the Dutch submarine K IX. On the night of 31 May–1 June 1942, three Japanese submarines—I-22, I-24 and I-27—released midget submarines to penetrate the harbour.
The principal target was the heavy cruiser USS Chicago, which was berthed at Garden Island alongside the depot ship HMAS Kuttabul, with K IX moored nearby at the south-eastern corner of the island. At approximately 11.25 pm, the midget submarine M24 fired two torpedoes at Chicago. Both missed the cruiser, passing beneath K IX and Kuttabul before one struck the breakwater against which Kuttabul was moored.
The explosion sank HMAS Kuttabul and killed 21 Allied naval personnel—19 from the Royal Australian Navy and two from the Royal Navy. K IX suffered severe damage, including the destruction of her storage battery jars, rendering the submarine inoperative and requiring prolonged dockyard repairs. On 1 June, K IX was towed away from the wreck of Kuttabul.
In the immediate aftermath of the raid, strict censorship was imposed. The press was instructed not to mention K IX, in order to prevent information about Royal Netherlands Navy vessels operating in the South-West Pacific Area from reaching Japanese intelligence. Two of the attacking midget submarines—Nos. 14 and 21—were destroyed within Sydney Harbour. The third, M24, escaped the harbour, crossed the indicator loop at 1.58 am on 1 June, and disappeared. Its fate remained unknown until 2007, when amateur divers located its wreck on the seabed near the mouth of the Hawkesbury River, north of Sydney.
Allied anti-submarine response after the attack
In response to the harbour attack, Admiral Herbert Leary, Commander of Naval Forces in the South-West Pacific Area, ordered immediate air and naval patrols to locate and destroy any remaining Japanese submarines operating off the Australian east coast. No. 18 (Netherlands East Indies) Squadron of the Royal Australian Air Force (RAAF), under the command of Major Fiedeldij, was assigned to these anti-submarine operations.
The RAAF directed Major Fiedeldij to dispatch the squadron’s five B-25 Mitchell bombers from Canberra to search waters off Newcastle. Rear Admiral Coster later criticised this order, arguing that No. 18 Squadron was under naval rather than direct RAAF operational control.
On 8 June 1942, Australian newspapers reported that a No. 18 Squadron aircraft had sunk a Japanese submarine off the New South Wales coast. At the time, the names of the Dutch aircrew involved were deliberately withheld, due to concerns that publicity might expose family members—many of whom were prisoners of war or civilian internees—to Japanese reprisals.
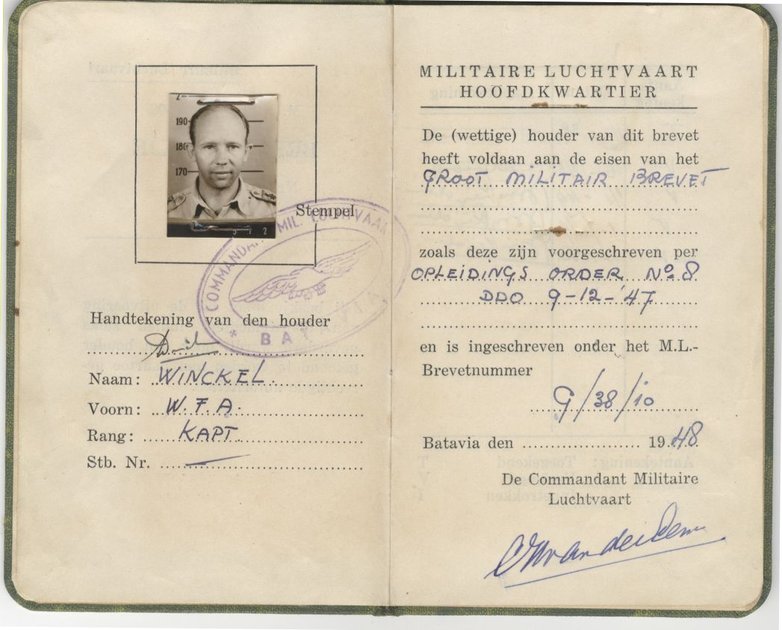
Lieutenant Gus Winckel’s reported submarine attack
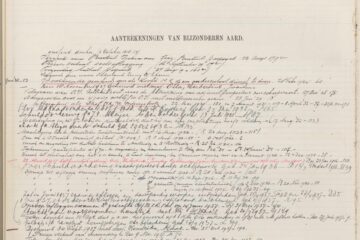
Lieutenant Gus Winckel piloted the B-25 Mitchell involved in the reported engagement. The aircraft was fitted with a Norden bombsight, which assisted in the attack. On the morning of 4 June 1942, Winckel reported locating and attacking a Japanese submarine off the New South Wales coast. The position of the engagement was recorded in the navigator’s log as 35°22′ South, 152°36′ East, on a course of 205 degrees, off Moruya.
Subsequent post-war examination of Japanese ship loss registers indicates that all submarines involved in the Sydney Harbour raid were accounted for, with no confirmed Japanese submarine recorded as sunk off the New South Wales coast during this period. For this reason, Winckel’s action does not appear as a confirmed sinking in the official Australian War Histories.
Nevertheless, the incident is documented in the official Dutch war history and in published histories of No. 18 Squadron. Members of the squadron, including Marinus Bakker, Jan van Arkell and Gus Winckel himself, recounted the engagement in interviews conducted by historian Dr Jack Ford. Ford therefore treats the episode as a documented wartime claim, formally recognised at the time, rather than a confirmed submarine loss under post-war naval accounting standards.
Official recognition and later commemoration
Following the reported engagement, Winckel was summoned to Parliament House in Canberra to brief Prime Minister John Curtin and his War Cabinet on the incident. The Curtin Government subsequently conveyed its appreciation of the Dutch squadron’s actions to Queen Wilhelmina and the Dutch Government-in-Exile in London on 11 June 1942.
The observer and bombardier on the mission, First Lieutenant J. van Loggem, played an equally important role in the attack but did not receive the same level of recognition at the time.
In 2009, a statue was unveiled in Moruya commemorating Winckel and the other airmen who operated from the local airfield. Winckel attended the ceremony together with local Member of Parliament Mike Kelly. A street in Broome was later named in his honour. Gus Winckel died on 17 August 2013.
Conclusion
The Japanese attack on Sydney Harbour and the events that followed illustrate both the vulnerability and resilience of Australia during a critical phase of the Pacific War. They also highlight the often overlooked contribution of Dutch naval and air personnel operating in exile. While the reported submarine attack by Lieutenant Gus Winckel cannot be confirmed as a sinking by post-war standards, it remains a documented and officially acknowledged wartime episode, reflecting the tense operational environment and the close cooperation between Dutch and Australian forces in 1942.
See also: